Sunday, March 23, 2014

First, the Planning and then some more Planning.

Washing the fabric, softened the cotton and loosened the weave. I need to plan on lining this jumper with this particular fabric. Luckily, the standard pattern directions have the sewer lining the bodice. It will be very simple to add a lining to the skirt section. Next, I create a project page in my sewing diary. I either draw a simple representation of the garment or add a color copy of the envelope front. I date the entry and note which view I'm making as well as the size from which I'm starting my alterations.


I know that there are several alterations that almost always have to be done. I usually need to add about 5/8 of an inch to each side of the shoulder seam. I can't forget to draft this into subsequent sleeve heads or arm hole facings. Luckily, this pattern has neither as I will be fully lining the top with the same pattern piece cut from the lining fabric. Also, I often need to take out some along the center line of the front and back and add something to the bust darts or gathers. I have a C/D-cup sized bust line and most industry standard patterns are drafted with a B-cup in mind.


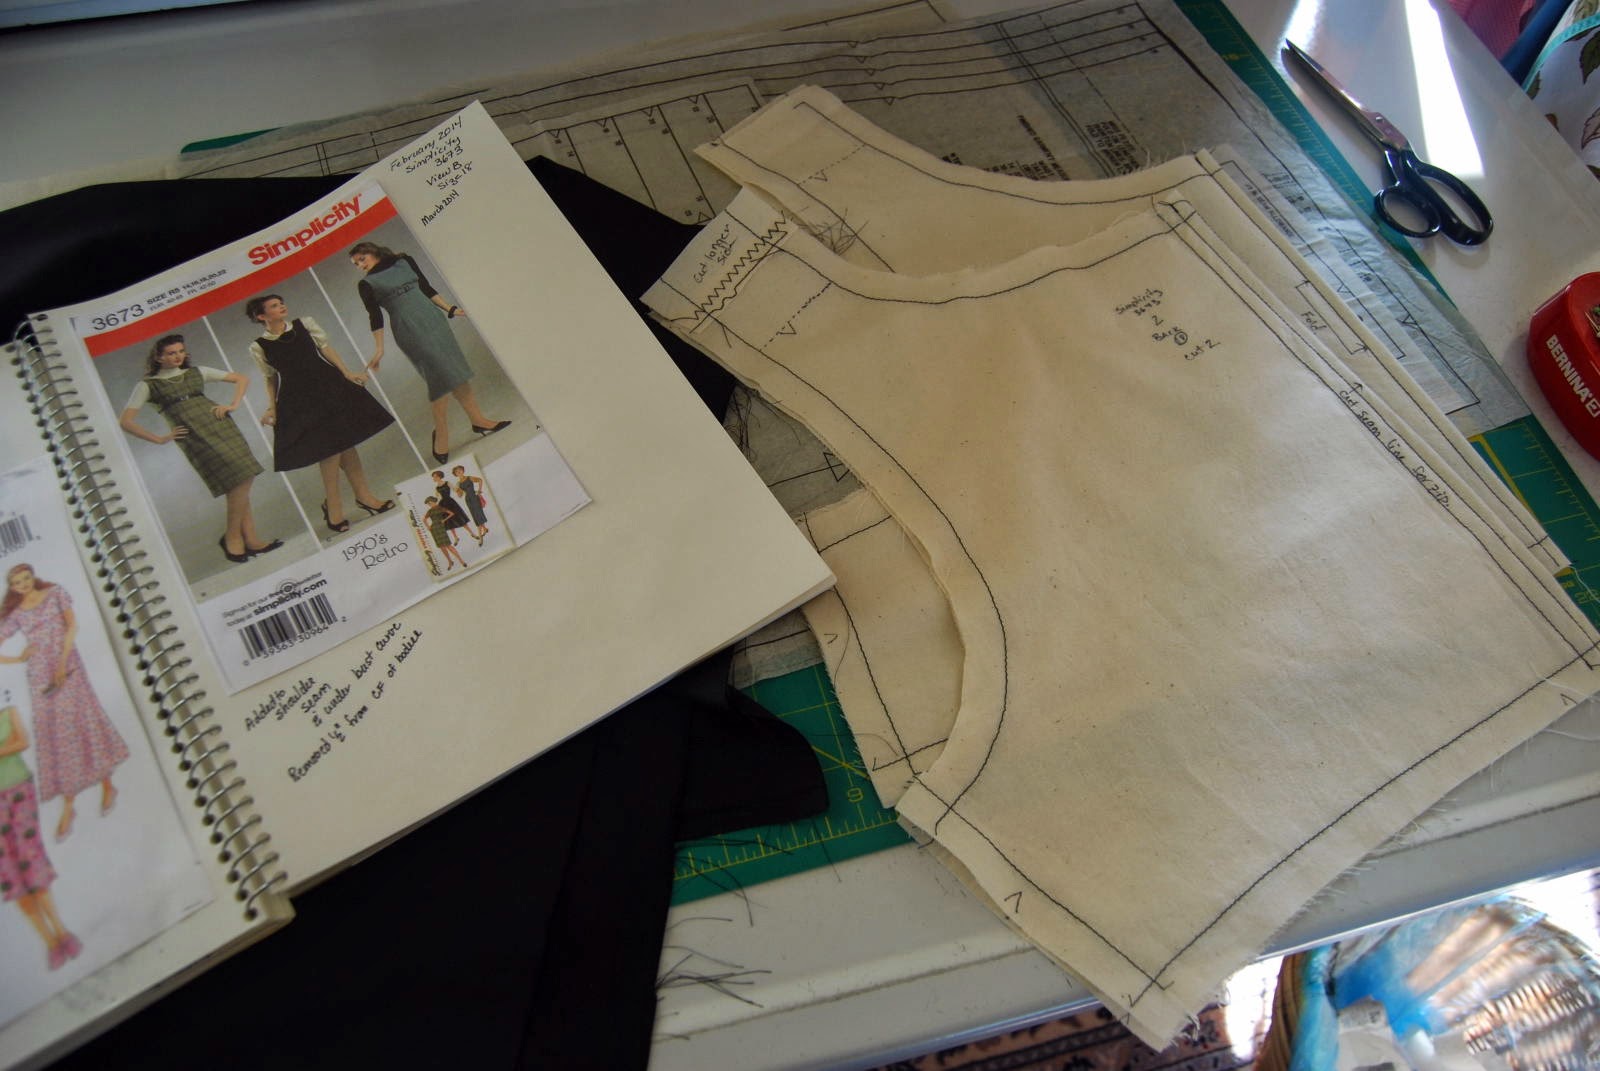
Above you can see the redrafted muslins for the bodice. The back pattern piece is showing and you can see the additional length on the shoulder as well as the removal of some of the width in the center back. I also added about a 1/2 inch to the bust curve at the empire line to compensate for the the larger bust line. I also make note of these alterations on my project page in my sewing diary.


Friday, March 21, 2014

A Retro Jumper

Now's the time for some clothes and I prefer the retro look.


Here's a retro reprint pattern: Simplicity 3673. I store the pattern pieces in a large manilla envelope and I put the pattern envelope in a page protector in a 3-ring binder. The new pattern envelope is large enough to add redrafted pieces to the original pattern. I also like having my pattern envelopes stored seperately. After years of sewing, I now have my own personal pattern selection book of patterns I know and like. When shopping for fabric, I can just take the chosen pattern envelopes in their page protectors to the shops. No more lost pattern pieces and no more torn and unreadable envelopes.


This is the first time I'm making this design. I've chosen a Japanese cotton. It's a loose weave knubby textile in a small black and brown check. My first job after choosing the fabric is washing the fabric as I would the finished garment. If I don't like the result, I can do one of two things. Choose a different pattern from my personnel pattern book that would be more appropriate or add the fabric to my stash and head back to the store for a different fabric for this pattern or a different pattern that will give a better result with the washed fabric.

Saturday, March 8, 2014

Finishing those Dinner Napkins

     After going to the store and getting some new white thread for the over-lock machine, I sat down to finish up this project. I set up the over-lock machine for a 3-thread rolled hem and I hemmed the napkins one after another; trimming off a scant 1/4 inch. Here's a close up of the process.


        I hemmed the napkins in "clothes-line" fashion rather than turning each corner. That is, I sergerd one straight edge followed by the straight edge of another napkin. When one edge on all the napkins was completed, I cut the them apart and hemmed the second edge. After all four edges were hemmed, I trimmed the hanging threads from all four corners and applied a small dot of Fray Check to each corner.


      Finally, I starched and ironed the napkins. I got more than twenty new family dinner napkins from those bedsheets. When the napkins get too worn or stained, I toss them into the clean rag bucket for a couple of more scrubs before they are finally discarded. I'm afraid that our linens live very long lives being used reused in our house.