Are you ready to put together your first basic sewing kit? You should already have the your full length mirror and you should have put together your ironing equipment. You've cleaned out your wardrobe, created a shopping list and perhaps even have a place for clothing ideas and inspirations. Wow, you've accomplished a lot. Now let's get ready to begin to learn to sew.
Your ironing equipment should consist of an good quality iron, a sturdy padded
cotton covered ironing board, a cotton or linen press cloth, a water
spray bottle, and a Turkish towel.Of these basic ironing things there are several which don't necessarily need to be purchased from a sewing store or be brand new. I have already stated the linen press cloth can be an old tea towel. You'll want the smooth kind of towel and not the hand towels made from terry cloth. A water spray bottle is probably hidden about the house also. Look around and reuse items. Most everyone has an old bath towel in a light color than will serve as extra padding for your ironing. If not, check a garage sale, thrift shop, or Mom's basement for these items.
Now for the most basic sewing kit list, many of these items you may already have. Gather them up and put them all together in a box.
The Box: Use a shoe box or an old cookie tin. Many households have old plastic containers from past organizational sprees that can be reused. You may even have a dress box or shirt box in the gift wrapping stash. If all else fails, save the cardboard box from your last mail order. My point here is: do not go out and buy things. There are plenty of holidays to come when you will need gift suggestions for your nearest and dearest. A fancy sewing box is a great gift.....AT A LATER TIME!

I can't tell you how many times I've gone to a garage sale and have seen an old sewing kit in one of these. Many of you will have one of these tins about the house. It's perfect for your sewing/mending kit. It's dry, dust free and you keep your tools away from your kids' crafting and any thing else going on in the house that will scatter your hard work to the four corners of the world.
A Six or Twelve Inch Ruler: You probably have one around the house. Choose a sturdy one with clear easy to read markings. A clear plastic ruler is good. There are many fancy rulers available, but to start your sewing collection, simple is best and the kind you might send to school with your child is perfectly fine.
A Yardstick: Again, you may have one around the house. Locate it. You will need it if you hem a skirt or draw a long line on fabric for home decorating.
 A 60" Vinyl Tape Measure:
 This is an absolute necessity. If you never move your sewing beyond sewing on buttons and fixing hems, you still need to know what size you'll need when ordering things. Buy the best quality vinyl tape measure you can afford from a good sewing store. Do not rely on the tape measure included in prepackaged beginner sewing kits as they are generally only 36" and that is not adequate. A five foot measure is far more useful.
 Pins:
Pins: I would choose a box of glass head pins for a beginner. They are easy to see on the floor and easy to see in the fabric and easy to use for the untrained and awkward beginner hand. They will not rust and the glass heads will not melt when you accidentally iron them. If your pins do not come in a box, find a small container from the household that will served to hold them. A tin lozenge container comes to mind or a small plastic food storage box will serve just as well.
 Needles:
 Right next to the display of pins will be needles, buy a small assorted selections. Ten to twenty needles will last a lifetime for a mending kit.
 Scissors:
 An entire blog post could be written about scissors and internet memes exist about unfortunate family members who use a sewist's dedicated scissors for something other than fabric. There is one simple rule for fabric shears. USE THEM FOR FABRIC AND THREAD ONLY! This means a dedicated pair of dressmaking shears and they are an expensive investment, if you are buying quality. Quality 8" dressmaking shears start at $30 and move up from there. Save this as a gift suggestion and know that the best shears will last you for a lifetime.
For an absolute beginner, however, I recommend buying a new pair of $10-$15 dollar dressmaking shears from the large sewing store or online. If you are particularly budget minded, a new pair of "orange" handled scissors from the office supply store will be just fine. The point, here, is that they are new! Don't go to the kitchen drawer and re-purpose old scissors. Even the new "orange" scissors will suffice for cutting fabric for your first six or seven projects before becoming to dull. By that time, you will know if sewing is going to be a long term love or a see ya' later frustration. At that time, you can make the investment for new high quality shears and "retire" your old scissors to be your paper scissors in the sewing room. If you are saying goodbye to sewing then your basic sewing kit can remain in its' box as a simple home mending kit. It will be ready and stocked for all your small clothing emergencies.
 Seam Gauge:
 A seam gauge can be found in any reasonably sized sewing notions department. Buy one with clear markings. This useful little tool will help you to set hems and size seams. You can use a ruler for these jobs, but a seam gauge can be set to the called for width and you can mark and move along without re-reading the measurement. It will be inexpensive, even for a good quality one and a worthwhile addition to your sewing kit.
 Fray Check:
 This can be a life saver, if used properly. The trick to this is the old adage, "A stitch in time saves nine." In other words, catching a small torn seam, hole or fray at the first sight will only require a stitch or two and a drop of fray check and you will have saved the garment. Ignoring your mending, wastes your precious clothing dollar.
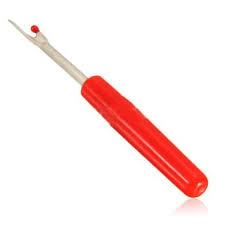 Seam Ripper:
 A seam ripper does exactly as the name implies. You will use this to open sewn seams and pick out mistakes. It happens to all of us, even experienced sewers keep their seam rippers right next to their scissors. There are many shapes and styles. Choose one that suits you. They do dull after a time and need to be replaced, but not that often.
 Small Assortment of Safety Pins:
 Very useful for holding things together, re-threading strings through casings, and pinning bra straps to the undersides of blouses. Keep them in another small box. Don't mix them in with your pins.
Small Assortment of Buttons: I actually don't think you should buy an assortment of buttons, but rather find a small container and begin saving your own buttons. Those extras that come with your coat and get put in a drawer and lost. They belong here. A shirt you have torn beyond repair should be salvaged for its' buttons. The same with other clothing that is going in the garbage. Look them over for buttons, hooks and eyes and reusable zippers. You will be amazed at what you can save from your cast offs.
A mechanical pencil: I suggest a mechanical pencil because it remains sharp all the time. Keeping extra lead in you sewing box will help you if you end up doing a lot of sewing.
 A chalk pencil:
 Sewers chalk and erasable markers both fall into the fabric marking category. For a beginner a chalk pencil will help you make marks on dark fabric or fabric which you might not want to get wet.
 An erasable sewing marker:
 An erasable marker, works well on light colored fabric and is removed by water. Usually, after finishing a garment, I'll wash the marks out in the laundry. But you can also remove them with your spray water bottle at the iron. A marker will be under $5 and often you can get them on sale. It is a luxury item, but extremely useful.
Assorted Thread: For your basic sewing kit, your should choose some spools of sewing thread. Choose small spools in basic colors. I would suggest white and black thread at the minimum, then depending on your own wardrobe colors add others. Begin by considering khaki or beige, navy, grey, and red. Thread for growing children's school uniforms in the proper colors would be a smart choice also.
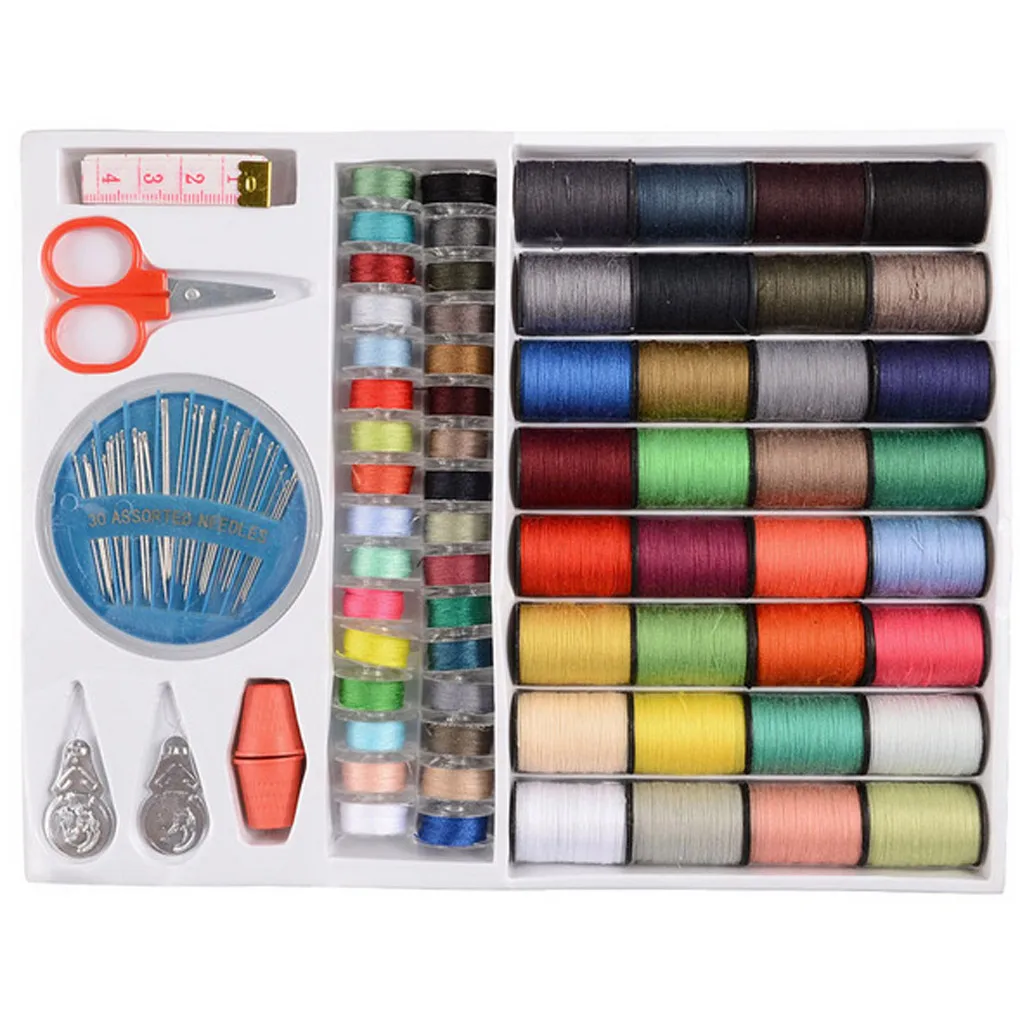
A final word about prepackaged sewing kits...just don't! Rarely are all the components of good quality and rarely are these a good buy. Just put it down and buy the best individual items you can afford from the list above. You will have a kit you can use for a lifetime and a very good start on your sewing room supplies.


