Thursday, September 25, 2014

The Sandra Lee Circle Skirt - An Elizabeth Reid Design

 The solution for my fitting problems turned out to be very easy. A circle skirt eliminates all gathering at the waist and give plenty of fullness at the hem. I did change the usual circle skirt draft is a very slight way. Can you see it?
Here's the finished skirt with the usual wardrobe pieces a tee shirt and cardigan. This skirt worked very well this summer. I wore it twice as often as the VoNBBS's full skirt.

Wednesday, September 24, 2014

Back to 1952 - Vogue 7375

Remember this skirt. It's from VoNBBS and my interpretation of pattern Vogue 7375, the full skirt. When I made this I had some serious reservations about the dirndl skirt silhoutte and my figure type. Although, the skirt was a successful sewing project, I personally believe that this style has limited appeal for me because of the amount of fullness in the gathers at the waist. It's successful only because of the lightweight gingham fabric. I really like full skirts but I wanted to be able to use a larger variety of fabrics, for example a poplin or mid-weight cotton.

So I put my thinking cap on and came up with one of my first "drafted from my head and personal sketch" garment. I want a full hemline and a plentiful skirt length. I needed to eliminate fullness at the waist and lengthen my torso length. Finally, the garment had to be easy enough so that a sewer, who like me relied for years on commercial patterns, would be confident enough to give it the old college try.

The answer was easier than I anticipated and here's preview of the some of the features of the finished garment.


Simple over-locked seam finishes on the crisp 100% cotton fabric.

A side seam zipper that goes all the way through the waistband thus eliminating the bulky lap and button.

 A narrow twin-needle machine stitched hem.

Fabric self faced waistband 


Next time...the finished garment!

Tuesday, September 23, 2014

Vogue 2758 - The Finish

 The sleeves, cuffs and closures went  smoothly for this project and here's the finished blouse on my dress form along with the previous project, the corduroy skirt.

Time for some self evaluation on these two items.

Garment Finish: The corduroy was definitely easier to work with than the blouse fabric and it gave a nicer finished garment. Grade: Skirt: A  and Blouse: B+

Fit: Skirt waist is a little tight. This is surprising as the denim skirt was just fine and I cut the same size. (No! The scales haven't changed in the upwards direction.) I think the denim just had more give and I must have stretched the waist seam when sewing it. The blouse fits very well, especially through the bust. I'm very pleased with the drafting of this pattern. Grade: Skirt: B and Blouse: A

Choice of Materials: I find the corduroy, even though it's fine wale, is a casual fabric. I don't think it goes particularly well with the more dressier blouse fabric. Perhaps, the mistake made is that the blouse needs and nice wool tweed or wool flannel pencil skirt and the corduroy needs a Shetland wool knit sweater or casual patterned tee-shirt. The choice of materials is fine if you consider each piece individually, but not correct if they are to be worn as an outfit.  Grade: Skirt: B and Blouse: B-

Style and Wearability:  I addressed this a bit in the previous paragraph. I like both these pieces, just not together. I need to think about how each of these will fit into my fall/winter wardrobe. This will need to wait until I put the summer things away. I think the skirt will blend in just fine, but the blouse may need some help. It will need at least a neutral pencil skirt to go with it specifically. Perhaps, I will get lucky and have forgotten something that I already own that will be perfectly suited for it. In the meantime, I'll put a note on my future project list. I graded the skirt above the blouse because I more than likely have some else to wear with the skirt, the blouse on the other hand may need another sewing project to get the most wear out of it. Grade: Skirt: B and Blouse: C


Monday, September 22, 2014

Vogue 2758 - Collar

Finally, the collar and front band stitching is finished. I'm a little disappointed the collar points are not as crisp as on a shirt, but this fabric has enough stretch in it that I was afraid of pointing them completely out of shape. I guess I'd rather fail on the side of too little than too much.

Tuesday, September 16, 2014

Simplicity 2758 - Darts and Front Bands

 What a pleasure it is to simply cut an appropriately drafted blouse. Kudos to the pattern companies that are drafting C and D cup patterns. Here's the blouse bodice front and back assembled and ready for the details. I can tell already that this will fit nicely. The fabric is quite soft and not holding a nice crease, so "crispness" is going to be hard to come by in this project.
 Front bands are the bane of my existence. Once these go wrong, collar stands go wrong, collars go wrong... I should just stop here at this step. So jumping off into the details of shirt making and having David Coffin's book on "Shirtmaking" at my elbow, I proceed carefully and baste, baste, baste. Taking my time with marking tends to help tremendously.

Yippee! Nicely done front bands. There is hope for the remainder of this project.

Monday, September 15, 2014

Simplicity 2758 - A Print Blouse

 Here's the print fabric I chose for this project. I bought is several years ago at G-street Fabrics and I've forgotten all the details about it. I believe it's a cotton silk blend with a bit of Lycra in it. It is soft and has a nice drape. It is medium weight blouse fabric, but not crisp like a shirting. It should be all right for this project in that the pattern has many shirt-like details such as the collar stand and separate front bands, but it also has some full sleeves that need some softness to them.
I cut a size 14 D-cup in this pattern. It's one of those from the Big 4 that has drafts for C and D cup ladies. Thank you! It's nice not to have to make full-bust adjustments all the time.

Friday, September 12, 2014

Simplicity 2758 - Finishing up the Corduroy Skirt

After inserting the zipper, it's time to baste and stitch the waistband in place.

Here's a close up of the hand work needed to stitch down the waistband to the inside of the skirt. 

Finally, there is some more hand work for the hem.

Here's the finished skirt. I'll have a photo of it after I sew up the blouse in this pattern.

Tuesday, September 9, 2014

Simplicity 2758 - Installing an Invisible Zipper

 Installing an invisible zipper is easier than a regular zipper because all the stitching is hidden from view and any slight wobble can be forgiven. I chose an invisible zipper for the corduroy because I didn't want any top stitching showing that would crush the pile of the fabric.

      First baste the one side of the zipper upside down to the right side of a garment's zipper opening. You want the teeth of the zipper to lie just outside the seam line, so that when you unroll the zipper for stitching the zipper's stitching line is on the seam line.


  I don't have a zipper foot for my machine, I use one designed for pin tucks and it works just fine. I have to adjust the needle position and away I go. Make one smooth stitching line "in the zipper's ditch" from top to bottom. Go as far as you can toward the bottom. The zipper stop will eventually get in your way. Stitch until you cannot go any further without distorting the stitching line. Stop, back stitch and trim threads.
 

Now, align and baste the second side of the zipper. I start off by pinning the second side of the zipper in place.

I check to see I haven't got things twisted by turning the garment to the right side and closing the zip. When that works, all is right with the world and I baste the second side of the zipper and stitch as described above.

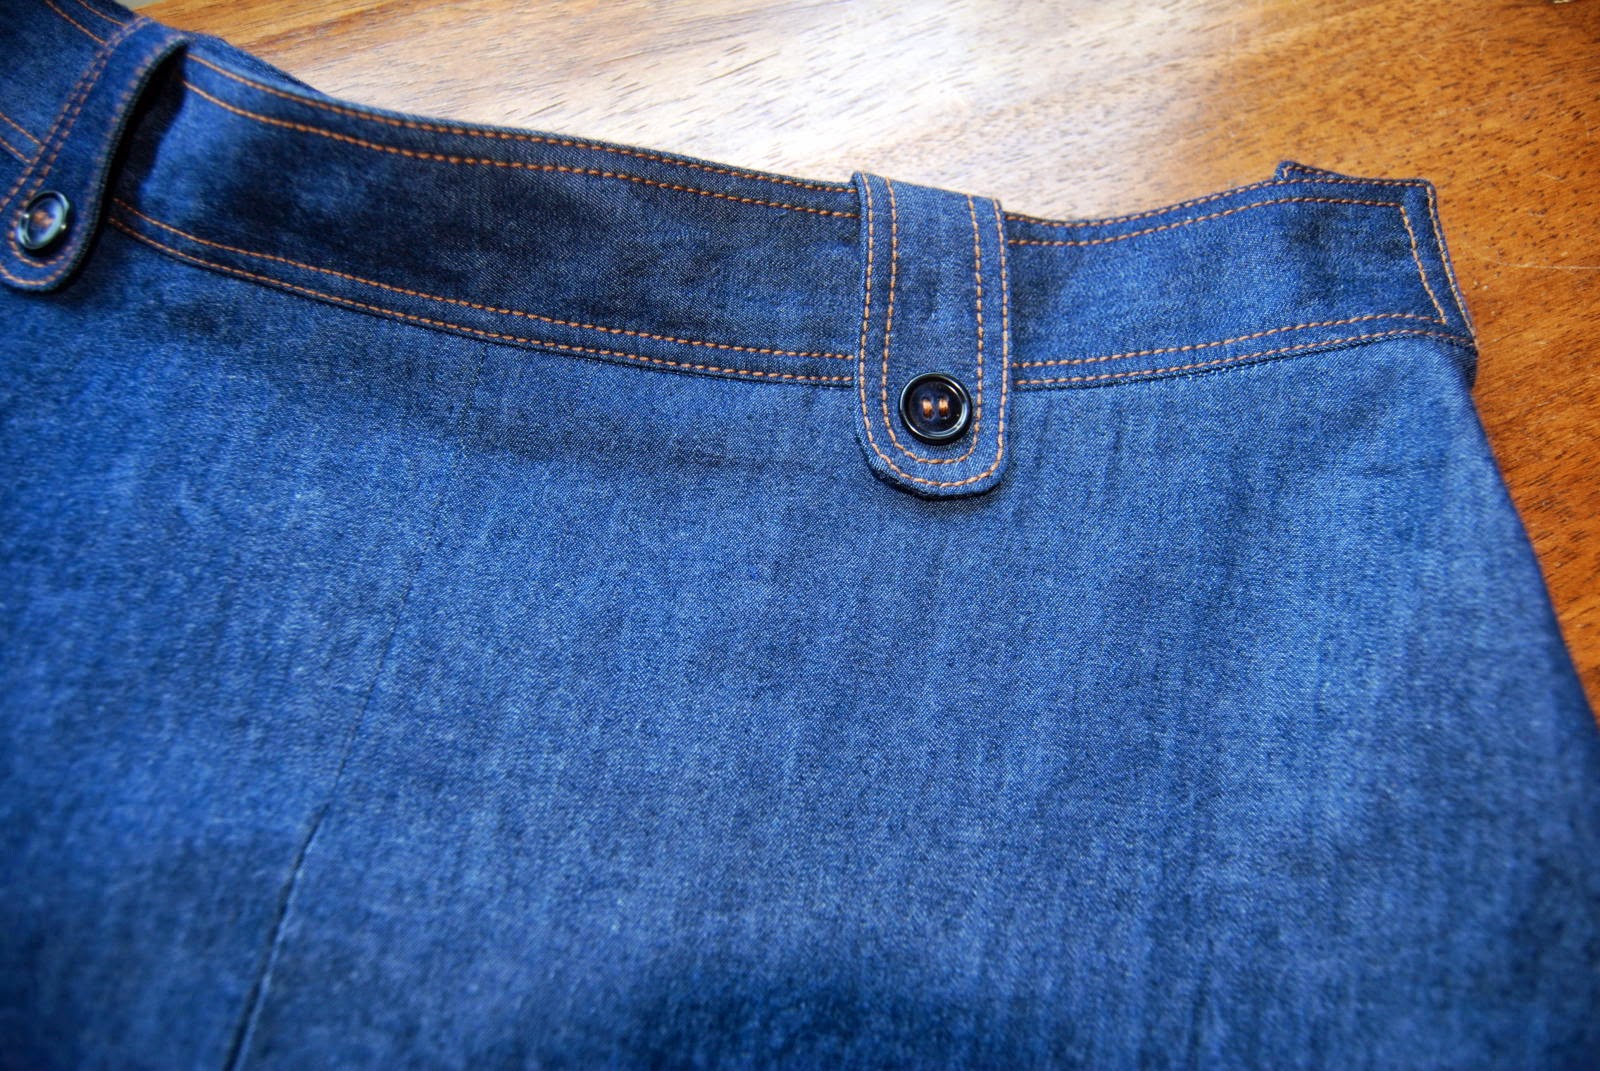
When both sides of the zipper have been stitched, I check the alignment by closing the zipper. I'm looking closely at the top edge of the skirt. This should be even and smooth for the waistband. Unevenness at the hemline can be dealt with during the hemming process.
 
 Finally, to finish closing the zipper seam, you pull the end of the zipper tape free from the seam allowances and pin the two stitching lines of the zipper together as close to the bottom as you can. Then pin the remainder of the seam. You will begin stitching at the end of  the zipper and move down, never the reverse. Begin stitching right on the end of the zipper stitch line or only one stitch length away. It can be a bit fuss, but work carefully and slowly for the first inch or so of the seam line. You're done. Trim and press and admire your beautiful invisible zipper.

Thursday, August 28, 2014

Simplicity 2758 - Coffee Corduroy

 Here's the corduroy skirt cut and ready for marking. You can see that the only unaltered piece of the pattern remaining is the underlay of the front box pleat.
I've serged the seam allowances for this skirt as corduroy fuzzes and frays wildly. Here, I'm lining up the basted front pleat, below, with the underlay piece on top. I'll need to match the seam line with the center basting line before pinning the seams and stitching.

Tuesday, July 29, 2014

The Next Two Projects - Simplicity 2758

I am pleased enough with the results of the denim skirt that I'm going to make this pattern again. This time in a fine-whale corduroy. I purchased this piece of corduroy on my last trip to JoAnn Fabrics in the US. It's a 100% cotton and coffee brown. It's has a black undertone to it rather than the reddish caste of a chocolate brown.  I also found in my stash enough fabric for a print blouse. This is a silk and cotton blend in a turquoise and brown floral print and a cream background. I purchased this piece several years ago at G-Street Fabrics in Washington, DC.


Monday, July 28, 2014

Simplicity 2758 - The Denim Skirt is Finished.

I'm pleased with the results of Simplicity 2758. The uneven hemline is because of my uneven hip line. I compensate for it two ways. I adjusted this pattern at the waist and at the hemline, making about half the needed adjustment in each place. This way I don't get too much distortion in either place. The raised hip is one reason I sew. I cannot get a ready-to-wear skirt to hang straight with reworking just the hemline. I need to adjust the waist too, at that point, I might as well sew the garment.


The waist band detail is nice. It's not too fussy, but adds some interest to an otherwise plain Jane garment. The light weight denim was easy to work with and gave me crisp pressing lines for the center box pleat.


Here's the modeled garment. Even with the belt, I'm please with the look.

Garment finish: A
Fit: A
Choice of Materials: A+

Old Cookbook Menus

These two days of menus come from a 1945 cookbook written by Vera Bradely. The book has an entire years worth of suggestions for three meals...